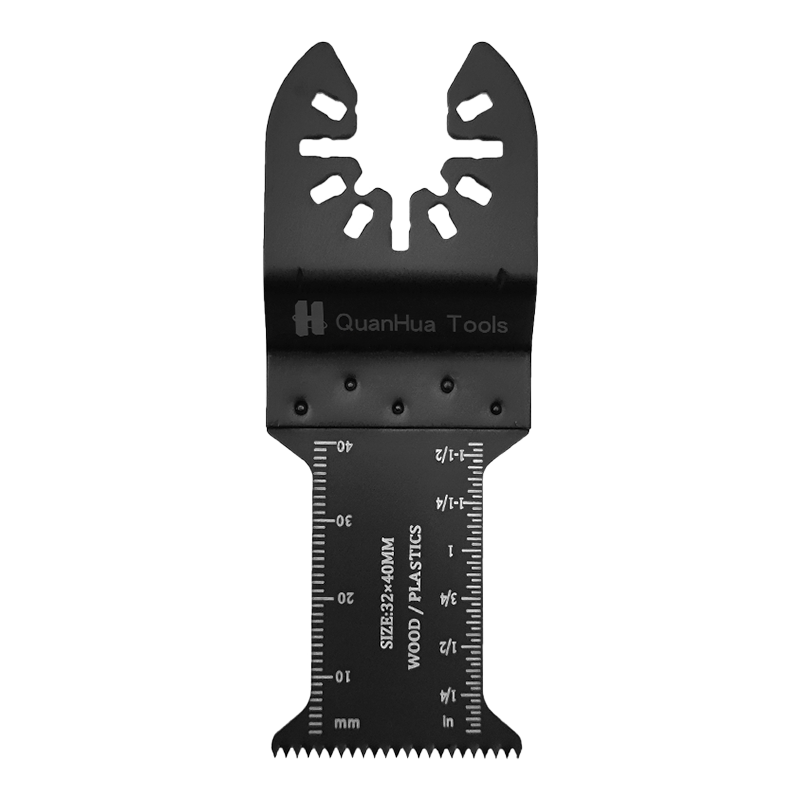
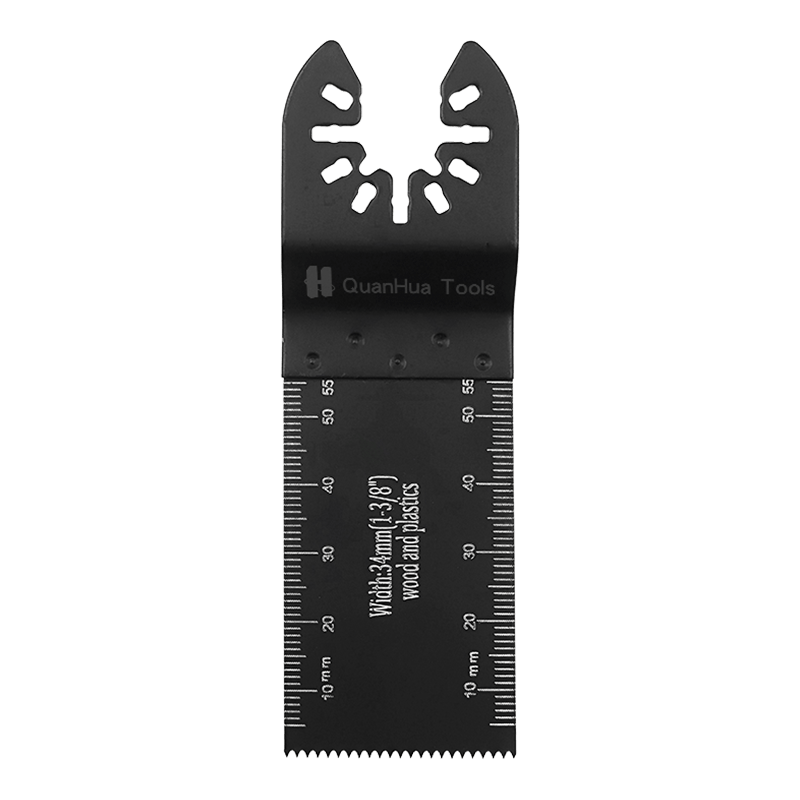
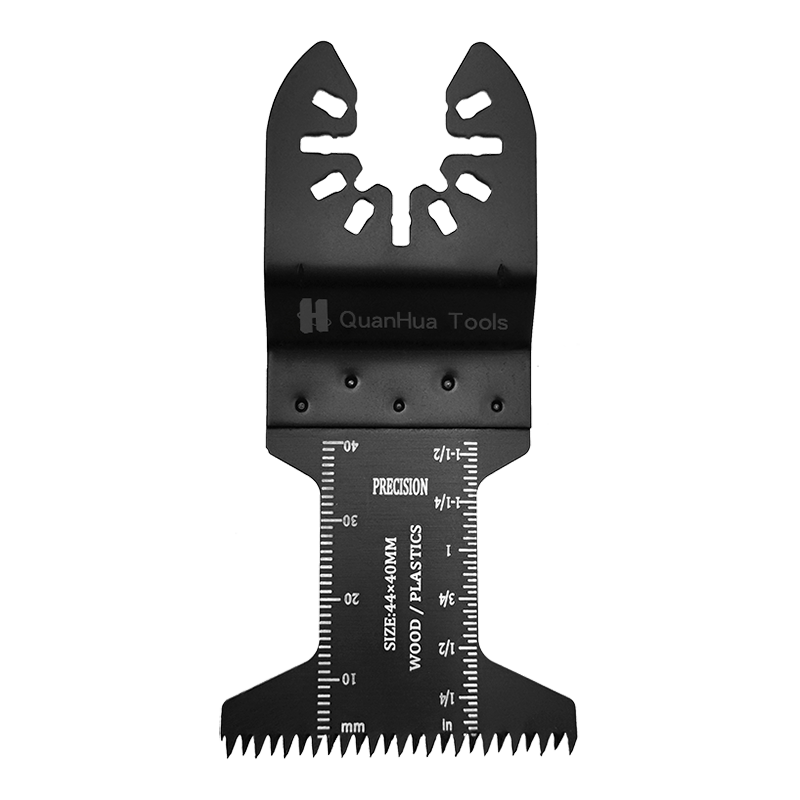
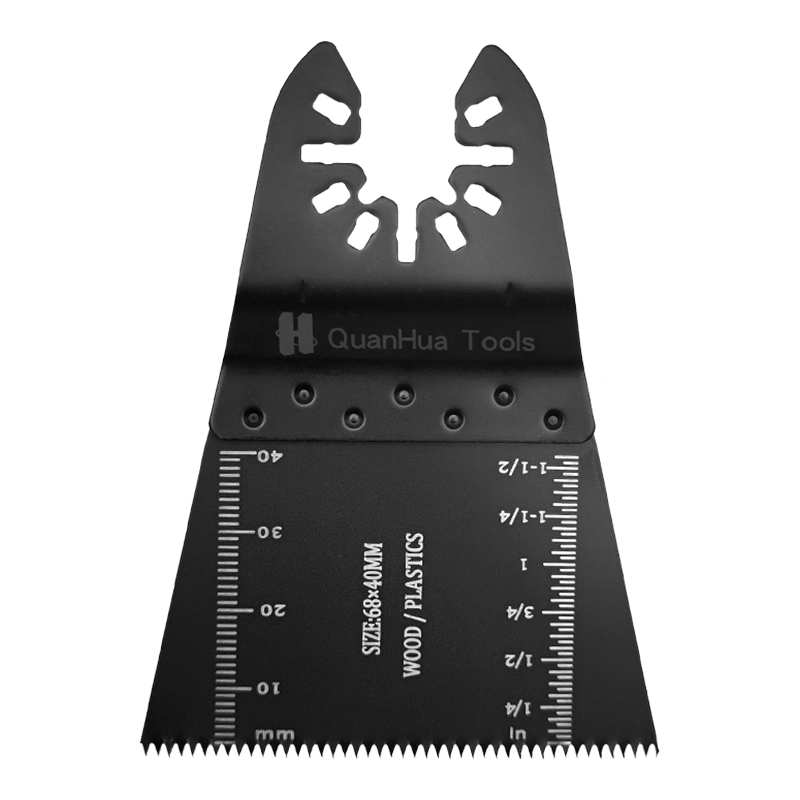
1. Tool preparation
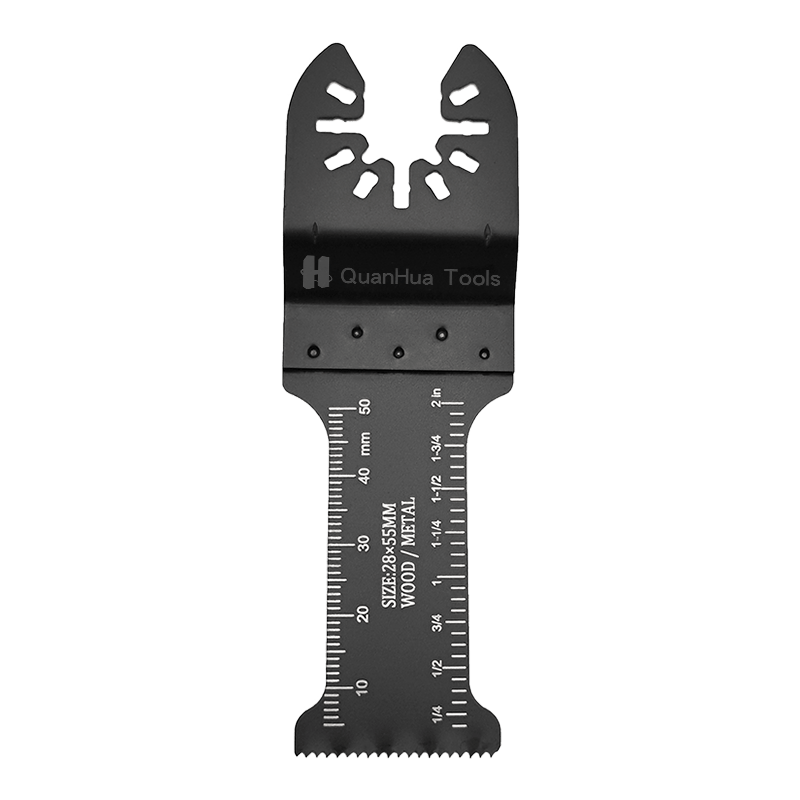
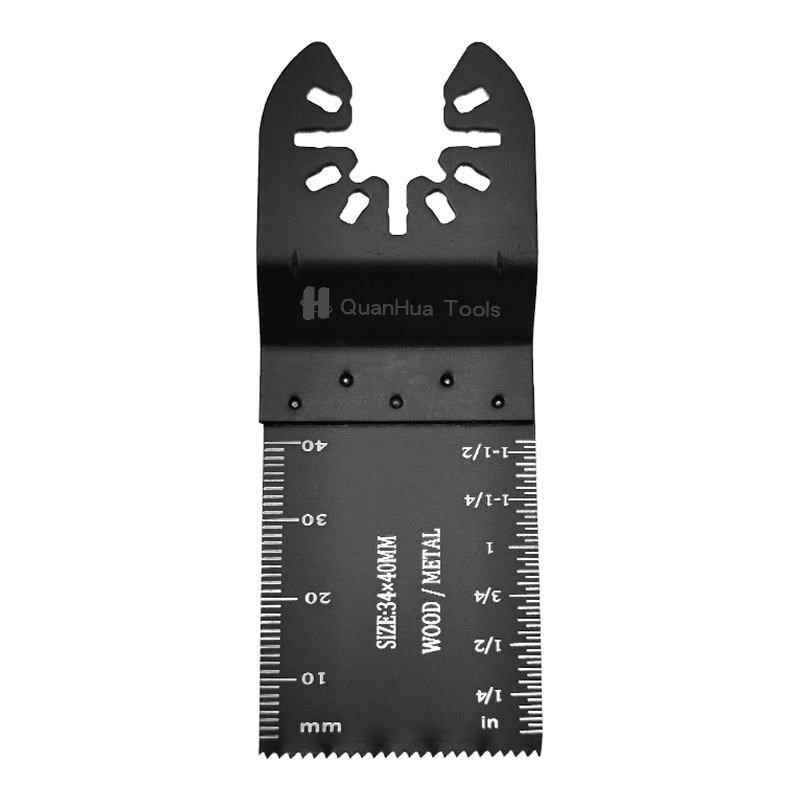
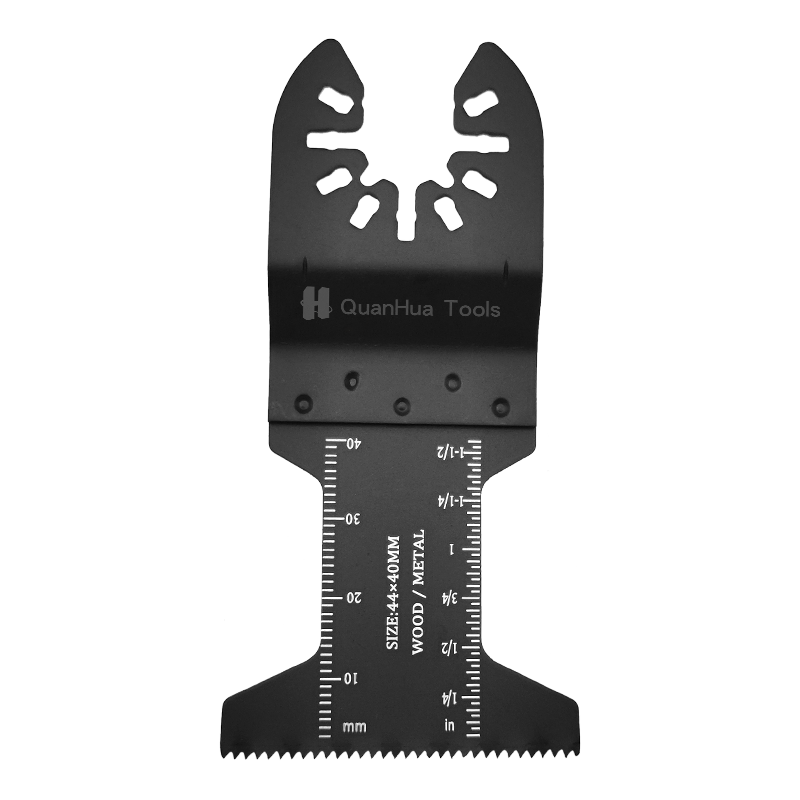
Before installing or replacing a BIM multi-function saw blade, you first need to ensure that the tools and parts are fully prepared. The oscillating multi-function tool and the BIM saw blade are the main equipment, and the tools usually used include screwdrivers, wrenches or other fastening tools, depending on the specific tool design. Most modern multi-function tools are equipped with a quick release system, which greatly simplifies the process of changing the saw blade without the need for additional tools. However, some older models or professional tools still rely on a screw and nut system, so users need to prepare the corresponding fastening tools in advance. You also need a clean and bright workbench to ensure that all parts will not be lost or dropped so that you can change the saw blade smoothly.
2. Power off or remove the battery
Safety is always the most important consideration when changing any power tool accessories. Before installing or replacing the BIM saw blade, you must ensure that the tool is completely powered off. For corded tools, unplug the power plug; for battery-powered tools, removing the battery is the simplest and most effective way. The key to this step is to avoid accidental start-up of the tool, especially multi-function tools that vibrate at high speed and have sharp saw blades, which may cause serious personal injury if accidentally started. Ensuring that the tool is operated without power is an essential safety measure during the replacement process.
3. Removing the old saw blade
When removing the old saw blade, the specific steps depend on the model of the tool. For those tools that rely on a screw or nut system, it is necessary to use a wrench or screwdriver to loosen the screws that secure the saw blade. Make sure to operate carefully during the removal process to avoid dropping or losing the screws. Most modern tools are equipped with a quick release system, and the old saw blade can be loosened by simply pulling the release lever gently. If it is stuck or difficult to loosen, slightly adjusting the angle of the saw blade can help to complete the removal smoothly. When removing the old saw blade, be careful not to use too much force to prevent damage to the fastening system or mounting interface on the tool.
4. Choose the right saw blade position
BIM multi-function saw blades are usually designed to be installed at different angles to accommodate various cutting needs. The working environment as well as the material and direction of the cutting should be considered during installation. The installation angle of the saw blade is particularly important in confined spaces or when precise cutting is required. Multi-function tools usually provide installation options of different angles such as 0 degrees, 30 degrees, and 45 degrees so that users can choose the angle that best suits the current work. If the saw blade is not in contact with the workpiece, you can adjust the angle to get a better cutting effect. Choosing the right angle can improve the efficiency of cutting and reduce wrist fatigue during work.
5. Installing a new saw blade
When installing a new saw blade, first align the BIM saw blade with the gear interface or bolt hole of the tool to ensure that the saw blade can be properly embedded in the mounting interface of the tool. For traditional screw-fixed tools, users need to use a wrench or screwdriver to re-tighten the screws. Make sure not to use too much force when tightening the screws to prevent damage to the tool interface. For tools equipped with a quick release system, just gently snap the saw blade into the mounting slot, ensure that the saw blade is stable, and then release the quick release lever, and the saw blade will be firmly fixed. The key during installation is to ensure that the saw blade is fully fixed to prevent loosening during cutting.
6. Safety check
After installing a new saw blade, it is crucial to perform a preliminary safety check. You can gently shake the saw blade to ensure that it is firmly in the mounting interface. If the saw blade is loose or has a large shake, it means that it is not installed properly and you need to recheck whether the screws or quick release system are properly fixed. Especially in high-intensity cutting, a loose blade can lead to inaccurate cutting and may even cause tool failure or accidents. A manual check can ensure that the blade is firmly installed, improving the safety and efficiency of cutting.
7. Test the tool
Before you start working, always perform a brief running test on the tool. First, connect the power supply or reinstall the battery, then start the tool under no-load conditions and observe the operation of the blade. Make sure the blade runs smoothly without any deviation or shaking. Check the vibration of the tool to confirm that the blade remains stable during operation. If you find any abnormalities, such as unstable blades or abnormal tool vibrations, stop using it immediately and recheck the installation of the blade. A brief test can identify and solve potential problems before actual operation to ensure safe and smooth work.


